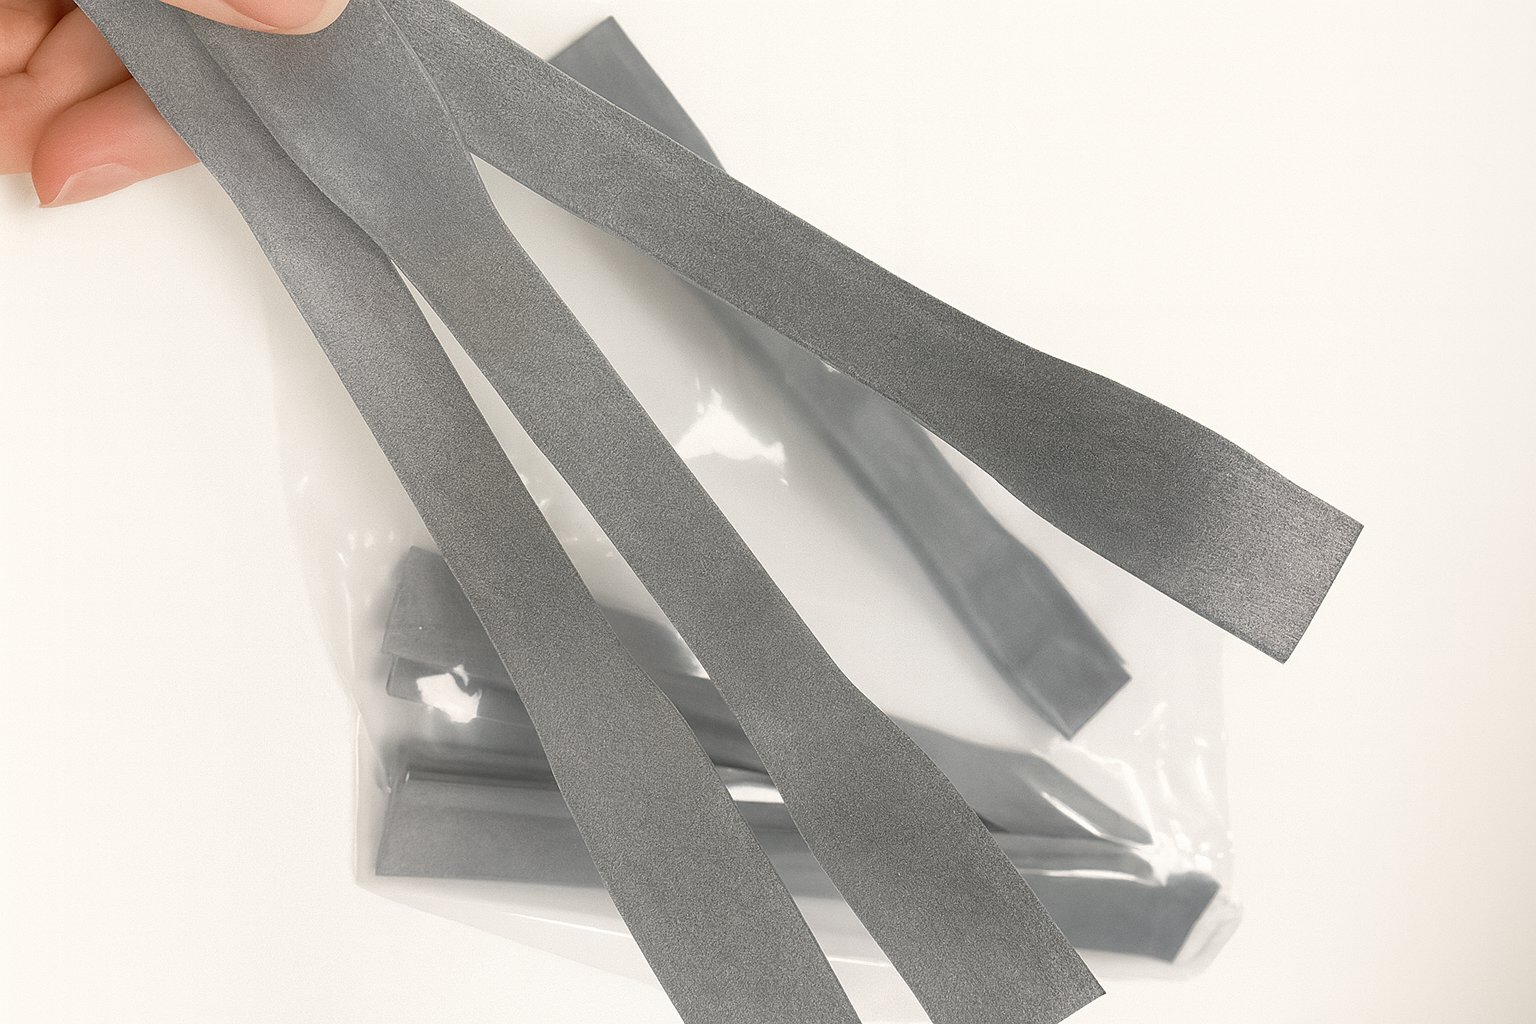
At Hyperlab3D, we recently worked with a client who needed dog bone specimens for tensile testing. The parts came off the printer with a visible layer shift — a misalignment between layers that runs across the gauge section. The client asked a straightforward question: can these still be used for testing?
The answer is no. And the reason goes deeper than it might seem.
This post explains what makes a tensile specimen valid, why metal 3D printing alone cannot guarantee that standard, and how CNC post-machining bridges the gap between a printed part and a test-ready specimen.
What Tensile Testing Actually Measures
A tensile test pulls a standardized specimen until it fractures. From that test, engineers extract critical mechanical properties: ultimate tensile strength, yield strength, elongation at break, and reduction of area.
These values are not just numbers. They inform material selection, structural calculations, and product certification. However, they are only meaningful if the specimen itself meets strict geometric and surface requirements.
Standards such as ASTM E8 and ISO 6892-1 define those requirements in detail. Among the most important: all stress calculations are based on the original cross-sectional area of the gauge section. If that area is inaccurate, every downstream calculation is wrong by the same proportion. A 3% error in cross-section becomes a 3% error in reported strength — and that error is invisible unless you know to look for it.
The standard also requires that the gauge section be geometrically uniform, free from stress concentrators, and finished to a surface quality that does not promote premature crack initiation.
In short: a valid tensile specimen requires precise dimensions, a clean surface, and no geometric defects. That is a much higher bar than most functional parts need to meet.
Why As-Printed Metal Parts Fall Short
Metal selective laser melting (SLM) produces parts by fusing successive layers of metal powder with a laser. The process is highly capable, but it introduces challenges that make as-printed parts unsuitable for direct tensile testing.
Dimensional Deviation
Metal SLM typically achieves dimensional tolerances in the range of ±0.1 to ±0.3 mm. For a dog bone specimen with a gauge section of, say, 6 mm × 4 mm, that level of deviation translates to a potential cross-sectional area error of several percent. Since stress is calculated as force divided by area, that error propagates directly into every mechanical property reported from the test.
Surface Roughness
As-printed metal surfaces typically exhibit a roughness value (Ra) of 5 to 20 µm, depending on build orientation and process parameters. Best practices for tensile specimen preparation recommend Ra below 2 µm in the gauge section. Surface irregularities above that threshold act as micro-notches. Under tensile load, stress concentrates at the tips of those notches. As a result, the specimen may fracture earlier than expected, producing artificially low elongation values and distorting the stress-strain curve.
Layer Shift
Layer shift occurs when one or more layers in a print are laterally displaced relative to the layers above and below. The causes include laser scanning anomalies, uneven powder spreading, equipment vibration, or mechanical error in the recoating system.
In the gauge section of a tensile specimen, a layer shift creates an abrupt change in geometry. That geometric discontinuity becomes a severe stress concentrator. Under load, the specimen will almost certainly fracture at the shift rather than at the true weakest cross-section of the material. The fracture location is wrong, the measured properties do not represent the material, and the data cannot be used for any engineering or certification purpose.
Therefore, any specimen with a visible layer shift in or near the gauge section must be rejected before testing.
The Solution: CNC Post-Machining of the Gauge Section
Once a printed specimen has passed visual inspection — confirming it is free from layer shifts, warping, and gross defects — CNC machining of the gauge section is the correct next step for test-critical applications.
Why CNC, and Not Sandblasting or Polishing?
This is a question worth addressing directly. Sandblasting and polishing are effective surface treatments for functional and cosmetic parts. However, they are not appropriate for tensile specimen preparation.
Sandblasting improves surface texture but does not control dimensional accuracy. It cannot bring a gauge section to a precise, repeatable cross-sectional area. Polishing similarly removes surface material without guaranteeing geometry.
More practically: CNC machining is the final precision step. Any surface treatment applied before CNC is simply removed by the cutting tool. Any surface treatment applied after CNC risks altering the carefully established dimensions and introducing new surface stress states. For tensile specimens, the correct workflow ends with CNC. No further surface treatment is needed or appropriate.
What CNC Machining Achieves
CNC post-machining of the gauge section accomplishes four things that printing alone cannot:
Precise cross-sectional area. The gauge section is machined to exact drawing dimensions. The actual measured area is recorded and used directly in stress calculations, eliminating uncertainty introduced during printing.
Surface roughness within specification. Machining brings the gauge surface to Ra below 2 µm, removing the layer lines, powder adhesion, and micro-notches characteristic of as-printed surfaces. This prevents surface-driven premature fracture and ensures elongation measurements are representative of the material.
Geometric symmetry. A properly machined gauge section is symmetric about the specimen axis. Asymmetry causes eccentric loading during testing, which introduces bending moments and produces non-uniform stress distributions — both of which corrupt the results.
Elimination of surface defects. Any residual surface irregularities from the print, including minor layer inconsistencies that might not be visible to the naked eye, are removed by the cutting tool.
Technical Considerations for Machining 3D Printed Metal
Metal additive manufacturing produces a microstructure that differs from cast or wrought material. The grain structure, residual stress state, and surface condition all influence machinability. At Hyperlab3D, we account for these differences by adjusting cutting parameters specifically for printed feedstock — including tool selection, cutting speed, and depth of cut per pass.
We use shallow, multi-pass cutting strategies rather than aggressive single-pass material removal. This approach minimizes cutting forces on the gauge section, reduces the risk of introducing new residual stresses, and maintains dimensional control across the full gauge length. After machining, the gauge section dimensions are measured and recorded, and those values accompany the specimen at delivery.
The Case for Hybrid Manufacturing
The combination of metal 3D printing and CNC machining is sometimes called hybrid manufacturing. For tensile specimens, it is the most practical and accurate approach available.
Printing handles the complex geometry and rapid turnaround. No tooling is required, material waste is low, and small batches are economically viable. CNC handles the precision. It brings the critical surfaces to the dimensional and roughness standards that testing demands.
Neither process alone is sufficient. Together, they produce a specimen that is both efficiently manufactured and fully valid for mechanical testing.
Hyperlab3D’s Standard Workflow for Tensile Specimens
Our production process for test specimens follows a fixed sequence:
Step 1 — Print. Parts are printed to a controlled oversize on the gauge section, leaving sufficient material for CNC removal while maintaining the correct final geometry after machining.
Step 2 — Visual inspection. Every specimen is inspected before any further processing. Parts with layer shifts, warping, or other visible defects are removed from the batch and reprinted. This step is non-negotiable. A defective specimen that proceeds to CNC is still a defective specimen.
Step 3 — CNC machining of the gauge section. The gauge section is machined to final dimensions. Cutting parameters are selected for printed metal feedstock. Multi-pass shallow cuts are used throughout.
Step 4 — Dimensional verification. The actual cross-sectional area and gauge length are measured and recorded. These values are used directly in stress calculations.
Step 5 — Delivery with documentation. Specimens are delivered with a dimensional report. The client receives the actual measured area of each specimen, not the nominal drawing value.
Note that sandblasting and polishing are not part of this workflow. They are used at Hyperlab3D for functional and cosmetic parts. They have no role in tensile specimen preparation, where CNC is the final and definitive surface step.
What Clients Should Know Before Ordering
If you are ordering metal 3D printed specimens for mechanical testing, a few points are worth confirming with your supplier before production begins:
State the intended use clearly. Test specimens and functional parts have different requirements. A supplier needs to know that CNC post-machining of the gauge section is required — this is not a default assumption for most 3D printing services.
Provide the applicable test standard. ASTM E8, ISO 6892-1, and similar standards each have specific geometry requirements. Sharing the standard ensures that the specimen is printed and machined to the correct dimensions from the start.
Request a dimensional report. The actual cross-sectional area of each specimen should be measured and documented. Use the measured value, not the nominal drawing value, when calculating stress from your test data.
For any formal material certification or process validation, CNC post-machining is not optional. As-printed specimens may be acceptable for exploratory or comparative testing where absolute accuracy is less critical. For data that will be used in engineering calculations, regulatory submissions, or material qualification, the gauge section must be machined.
Conclusion
A tensile test is only as reliable as the specimen it tests. Metal 3D printing offers speed, flexibility, and geometric freedom. However, the as-printed surface condition and dimensional accuracy of SLM parts do not meet the requirements of standard test methods. Layer shifts, dimensional deviations, and surface roughness all compromise the validity of test data in ways that are not always obvious after the fact.
CNC post-machining of the gauge section resolves each of these limitations. It establishes precise cross-sectional geometry, brings surface roughness within specification, and removes any residual surface defects from the printing process. Combined with systematic visual inspection and dimensional documentation, it produces specimens that generate data you can actually use.
At Hyperlab3D, we offer end-to-end tensile specimen production — from metal SLM printing through CNC gauge section machining and dimensional verification. If your team is working on material characterization, process qualification, or design validation that depends on accurate mechanical data, we welcome the opportunity to support that work.
Hyperlab3D operates a fleet of 150 ZRapid iSLM machines across six model variants, with 95% machine uptime. We produce metal 3D printed parts for clients in engineering, research, medical, and industrial applications.